Monday, April 30, 2012

Teriyaki Chicken Kabobs


Here's what I've done the past two nights with the Restaurant Style Teriyaki Sauce I made yesterday.  It's better than take-out and only 1/4 the cost, even using organic chicken!  I cut up the chicken (thighs and breasts) into 1" pieces, thread them on soaked bamboo skewers, and grill at 400F for about 20 minutes, turning every 5 minutes.  I served on a bed of plain rice, with steamed broccoli.  Nutritious and delicious!

From one hearty appletite to another...happy cooking!

Photograph © Hearty Appletite

Friday, April 27, 2012

Restaurant Style Teriyaki Sauce


I don't know why I never thought to make this before!  It just didn't occur to me that I could bring the magic of the $6 teriyaki bowl to my house :)

This recipe is from food.com and is easy and delicious, and only takes about 5 minutes to make.  It's slightly thickened, great for egg rolls and gyozas as a dipping sauce, or to pour over rice and chicken.  Enjoy!


From one hearty appletite to another...happy cooking!

Restaurant Style Teriyaki Sauce
1/4 cup soy sauce
1 cup water
1/2 teaspoon ground ginger
1/4 teaspoon garlic powder
5 tablespoons packed brown sugar
1 tablespoon honey
2 tablespoons corn starch

Mix all ingredients together except for cornstarch and 1/4 cup water in a 1-quart pot.  Begin to heat.  In separate dish, combine corn starch and water.  Add to the pot.  Bring to a gentle boil and slightly thickened, and remove from heat.  Add a splash of water if it gets too thick.

Photograph © Hearty Appletite

Wednesday, April 25, 2012

Blueberry Pie

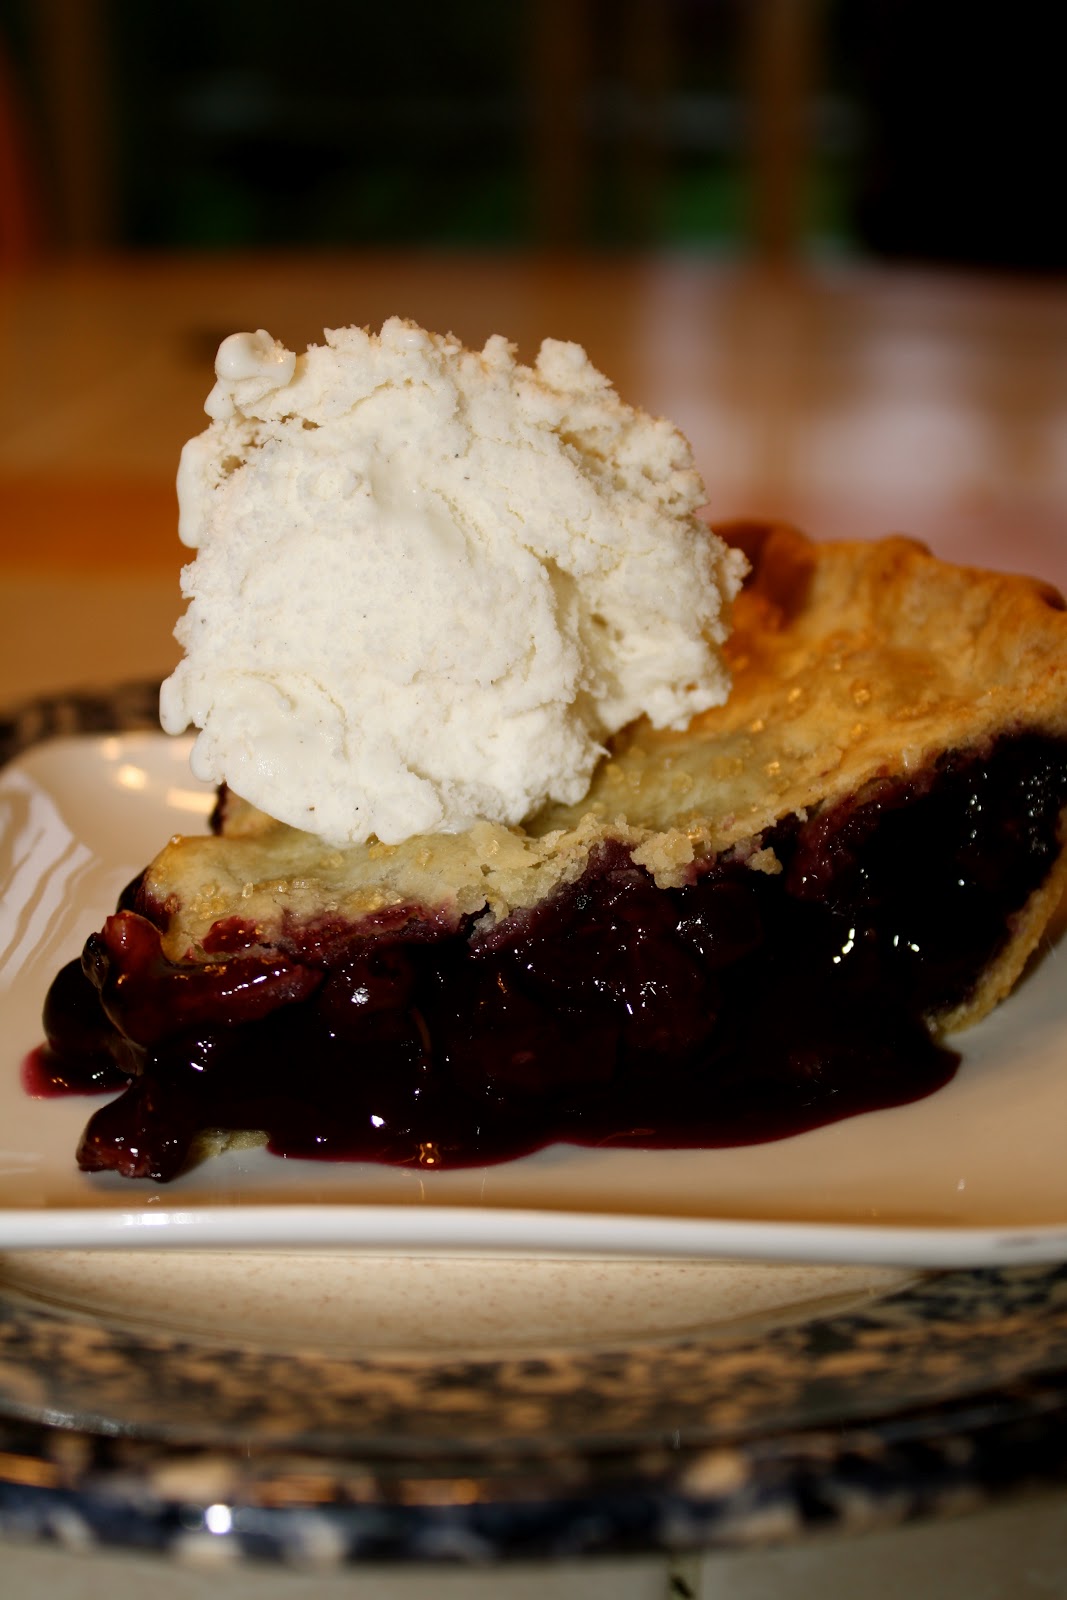
Blueberry Pie ala mode!
Blueberry pie is fitting for any season in my book.  Serve it hot and it's perfect for a rainy, chilly night, but it's the ultimate dessert choice when you come home with gallons of plump, sun-kissed, warm blueberries at the peak of the summer berry season.  There's no time when it isn't pie season!


No one makes a crust like my mom, Judy Olson, but I had to go it alone on this one since she wasn't home to come bake with me.  


You'll want to roll your crust out for about 3/16" thick.  This isn't math though, so whatever looks perfect to you will work.  I don't like a super thick crust, but too thin and it will fall apart!


I used frozen blueberries--oh, sweet summer memories--and tossed them with sugar and flour.  Let them stand at room temperature about 30 minutes.  That way they're softened, but not thawed.


Here's an opportunity to learn from my mistake :)  I had to roll out my crust before I was ready to bake it.  I rolled it up and put it in the fridge, due to space limitations, but I didn't allow it to thaw completely before flattening it out.  The result?  Cracks in the crust.  Well, it still tasted good!


I put my pie bird in the middle to avoid bubbling over, and it's just so cute!


I served it up ala mode, and enjoyed every bite! :)


From one hearty appletite to another...happy baking!

Mom's Butter Pie Crust
2 1/4 cups flour, spooned method
3/4 cup cold butter
3/4 teaspoon salt
~1/2 cup cold water, just enough water for form a ball of dough

Cut cold butter into flour and salt, until it resembles small pea-sized balls.  I like to use my fingers because it slightly warms the butter.  Add the water by sprinkling in slowly, stirring between each sprinkle.  Once the dough is hanging together, divide into two balls.  Roll out a bottom crust and lay in a 9" glass pie pan.  Fill with berry mixture.  Roll second crust and lay on top.  Moisten the seam with water, trim the edges and crimp together.

Blueberry Filling
5 cups blueberries
3/4 cup sugar
1/4 cup flour
1/2 teaspoon cinnamon, optional

Mix together flour and sugar (and cinnamon) and toss with blueberries.  Pour into pie shell. Cover with top crust.  Pierce with a fork multiple times, to allow steam to escape, and sprinkle with sugar.  Bake at 425 F for 35-45 minutes, or until crust is light golden brown.

Photograph © Hearty Appletite

Sunday, April 22, 2012

Grilled Chicken with Green Apple-Chipotle Salsa


My rule of thumb is that all main course dishes need to have at least three contrasting colors in order to be visually pleasing and appetizing.  This recipe for Chicken with Green Apple - Chipotle Salsa with Chipotle Chili Rub is bursting with color and fresh flavor!  Easy, healthy, great as a hot dish, or in a sandwich, you will love this light and zesty recipe for all sorts of reasons!


The blend of sweet apple juice with tangy red wine vinegar makes the cilantro and bell pepper maintain their fresh, crisp texture.  It's so good you can eat it all by itself!

Moist, juicy chicken on a bed of sautéed rice, topped with fresh apple salsa

From one hearty appletite to another...happy cooking!

Green-Apple Chipotle Salsa
1 cup diced (1/4") Granny Smith apple, unpeeled
1/2 cup diced (1/4") red onion
1/2 red bell pepper
1/4 cup chopped fresh cilantro
1/4 cup apple juice
1/4 red wine vinegar
1/4 teaspoon cayenne

Mix ingredients together.  Cover and chill until ready to use.

For chicken, rinse and pat dry 4 boned and skinned chicken breasts.  Rub Chipotle Chili Seasoning Mix all over chicken.  Grill or fry.  Serve over rice or noodles, or in a sandwich, and top with salsa.

Photograph © Hearty Appletite.

Wednesday, April 18, 2012

That's the Rub: Chili Chipotle Seasoning Mix!


I came across this rub recipe several years ago in my Sunset magazine, and it's been one of my favorites ever since.  It adds a bit of chili spice flavoring without being too spicy, and works great on chicken.  It only takes a couple minutes to throw together, and it doesn't cost anything either.  Yay!  You can even make a big batch of it and put it in a container of your own to use whenever you need.  In my next post, I'll give a recipe for an apple chipotle salsa that you will LOVE to go with this!
  

From one hearty appletite to another...happy cooking!

Chili Spice Mix
1 tablespoon paprika
1 teaspoon sea salt
1 teaspoon pepper
1/2 teaspoon chili powder
1/2 teaspoon firmly packed brown sugar
1/8 teaspoon cayenne

Mix in a small bowl.  Rub all over chicken before grilling.

Photograph © Hearty Appletite

Thursday, April 12, 2012

Key Lime Pie

Photograph © Jennifer Davik at myrecipes.com

The speed at which this delicious Key Lime Pie was prepared and consumed was so rapid that I didn't get a chance to snap my own picture.  But this gorgeous picture does justice to the beauty of the delicate lime green nature of the pudding, topped with a generous dollop of homemade whipped cream...a must for this dessert!

I'd never made Key Lime Pie before.  Never even tasted it before.  No longer will this be the case!  It's a snap to make and is such a refreshing way to end the day or cap off a meal.  The only change I made to the traditional recipes I found was to make a shortbread crust.  I'm not a fan of graham cracker crusts, and the buttery flakiness of a shortbread cookie is just what is needed for this pie.  

Spring is on the way, sunshine is peeking out behind a few black clouds, and key lime pie is on the menu!  Yum!

From one hearty appletite to another...happy baking!

Shortbread Cookie Crust:
1/2 cup butter
1/4 cup sugar
1/4 cup chopped pecans (walnuts will work)
1 cup flour
1/2 teaspoon vanilla

Combine all ingredients until crumbly and press in a 9" pie pan.  Bake at 375F for ~ 11 minutes, or until light golden brown along the edges.

Key Lime Pie Pudding:
3 egg yolks
2 teaspoons lime zest
1 (14-ounce) can sweetened condensed milk
2/3 cup freshly squeezed Key lime juice, or store bought

In an electric mixer with the wire whisk attachment, beat the egg yolks and lime zest at high speed until very fluffy, about 5 minutes. Gradually add the condensed milk and continue to beat until thick, 3 or 4 minutes longer. Lower the mixer speed and slowly add the lime juice, mixing just until combined, no longer. Pour the mixture into the crust. Bake for 10 minutes, or until the filling has just set. Cool on a wire rack, then refrigerate. Freeze for 15 to 20 minutes before serving.  Top with whipped cream.

Saturday, April 7, 2012

Wild Alaskan Blueberry Muffins


Wild Alaska Blueberry Muffins

There's nothing like a cup of coffee and a good breakfast to get me hopping out of bed in the morning, and this Wild Alaskan Blueberry Muffin recipe from born and raised Alaskan author, J.A.Olson, will make you want to spring out of bed an hour early just because you can't wait any longer to indulge!

  The tanginess of blueberries + the richness of cream cheese = bliss!!!

With these delicious muffins, and the stories and pictures of Alaska Ms. Olson writes about on her blog and Facebook page, (or for the ultimate experience check out her novel, "The Ghost of Anna") combined with this tasty treat, you are sure experience the true taste of Alaska from the comfort of your own kitchen and fuzzy slippers!  Enjoy!

Thanks again to Mom's Crazy Cooking Challenge for hosting this blueberry muffin extravaganza!!!


From one hearty "Alaskan" appetite to another...happy baking!

 Blueberry Muffins
 4 oz. cream cheese
1/2 cup butter
3/4 cup sugar
3/4 teaspoon vanilla
2 eggs
1 cup flour
3/4 teaspoon baking powder
1 cup blueberries

Combine softened cream cheese, butter, sugar, and vanilla - mixing until well blended.  Add eggs; mix until well blended.  Gradually add flour sifted with baking powder, mix until well blended. Stir in blueberries.  Pour into greased and floured muffin pan.  Bake at 375 degrees for 20 minutes.