Saturday, September 10, 2011

Twix Pie


My sister was over the other day and said that she had a craving for some kind of Twix pie with chocolately, gooey caramel and crunchy cookies. I didn't think too hard about this, because I'd never heard of a Twix pie, and my limited imagination saw a pile of melted candy bars in a pie crust. However, when she came by the next day and started telling me about this craving for a second time, (me noticing that her hands were gesturing in the same motions, as though she were feeling its creamy goodness in between her fingers) I woke up and took notice and thought, "I've got to make this girl a pie!"

The next morning, I was struck by inspiration in the shower (where all good thoughts originate) and I made a list, perfecting the idea in my head. I was excited to get to work on it!

Staying true to the candy bar, I made a shortbread cookie crust. I combined the flour, sugar and butter until small crumbs formed in my mixer.


Next, I pressed the crumbs flat into a pie pan and baked the crust at 350 degrees for 15 minutes, until light golden brown. Then I allowed it to cool completely.

The second task required a proper filling. I didn't want the chocolate pudding to get too sweet, so I reduced the amount of sugar normally found in vanilla pudding. I used a 4 quart saucepot and blended the sugar and cornstarch together until there were no lumps.

I added cold milk, and whisked until the milk started to get frothy. I'm not sure why, but I've found from experience that the pudding seems to thicken more uniformly when I've really whisked the ingredients together first. Also, I like to make my puddings on the stove versus a microwave. I know there's a higher risk of scorching the milk, but the pudding is definitely creamier when stirred constantly over medium-high heat. (I found this out when our microwave died and I was forced to make my pudding on the stove! A blessing in disguise...)

While the milk starts to heat, separate the yolks from the eggs, discarding the whites and the "belly buttons," as my mom always called them. In puddings and custards, she always taught me to remove the wiggly white part of the egg that connects to the yolk. It's not very appetizing to come across "egg gristle" in a creamy dessert!

After the milk comes to a boil for 2 minutes (making sure that you've stirred constantly after the initial 2-3 minutes), slowly pour about half of it into your beaten yolks, stirring continuously as you do so. This allows the yolks to be gently warmed by the milk, and doesn't shock them into scrambling!


Now it's time to slowly pour the egg and milk mixture, back into the rest of the hot milk. Return to the stove, and bring it back up to a gentle boil for one minute.

My mama done tol' me... Best piece of advice (well, one of the best pieces of advice!) I learned from my mom: "Whenever there's chocolate, there should be vanilla." Since we're throwing in a cup of chocolate chips, throw in a teaspoon of vanilla too!

Turn off the stove, and let the chocolate chips melt in the hot pudding.

There's that whisk again!

Ah, the chocolatey goodness part is completed! Cover the pudding with plastic wrap, making sure that it touches the pudding. Otherwise, a film will form on the pudding and add "bits" to your otherwise silky velvet chocolate. Chill until cold ~2 hours.

Bring on the candy!

Pour the caramel ice cream topping over the crust. At first I had the idea to use chewy caramel candies and let them melt on the hot crust. But, I did that once for a different pie, and once the caramel cooled, it became too hard and dominated the dessert. The sundae topping worked perfectly and wasn't at all overwhelming.

Creamy goodness time! Slowly fold the Cool Whip into the chocolate pudding, being careful not to over-mix. We want "puffy" pie :)


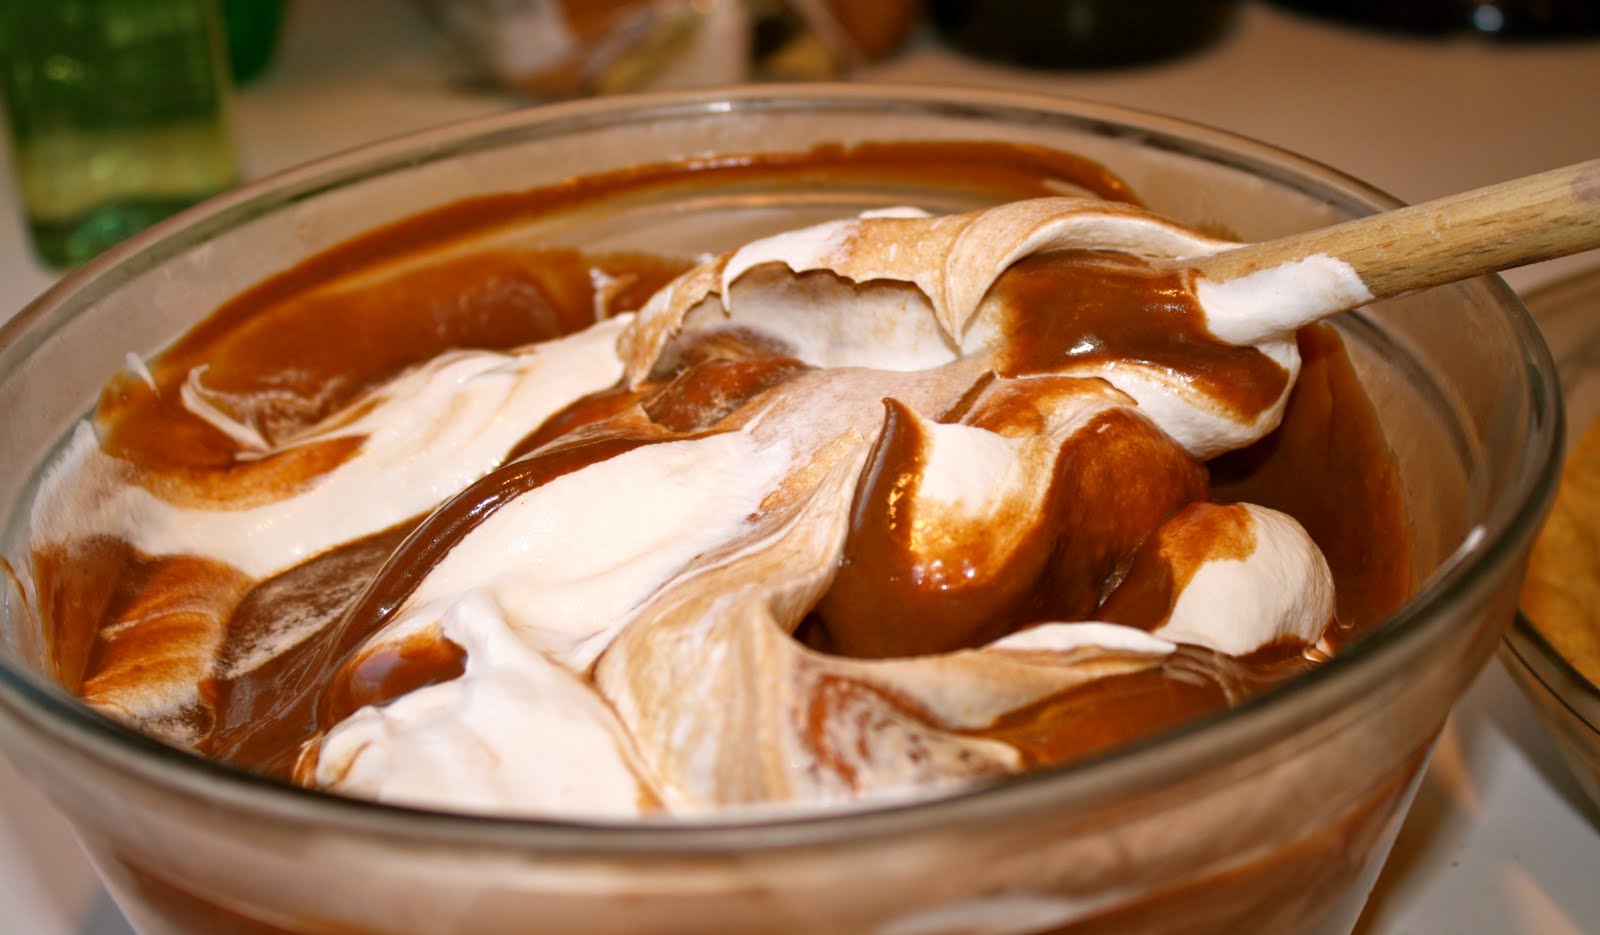
Don't worry about mixing too thoroughly. It's pretty to see the swirled colors!

Almost done! Time to whip up the whipping cream. Start the mixer and slowly add the sugar. We're not making butter, but we do want it to hold its peaks!


Top with chopped up Snickers...just kidding...TWIX!!! I used two King Sized Twix bars. (Don't be surprised if the people in your house start hovering around you by this point...go ahead, let them snitch!)

Aha! Behold, Twix Pie!!! If you want it to come out in perfect pie shape, you will most likely need to chill it for 2 hours before serving. If you can't wait that long, and your family won't LET you wait that long, serve it up! It's actually pretty darn yummy to see a plate of...what was it?..."chocolately, gooey caramel goodness" in a big messy pile on your dessert plate!

Don't forget the shopping list!

Crust:
3/4 stick of butter
1/4 cup brown sugar
1 cup flour

Caramel Layer:
1/2 cup caramel flavored ice cream topping

Chocolate Pudding:
1/2 cup sugar
3 tablespoons cornstarch
3 cups milk
3 egg yolks
1 teaspoon vanilla
1 cup semi-sweet chocolate chips
1 16 oz container Cool Whip

2 King Sized Twix Candy Bars

*Helpful hint: When making a pudding, I use the 1:1:1 ration: One tablespoon cornstarch to one cup milk to one egg yolk. Makes the perfect thickness!

From one hearty appletite to another...happy cooking! Thanks, Sis ;)

Monday, September 5, 2011

Peach Tart, Pretty Please!


I almost want to say that peaches are my favorite fruit. Let me qualify that statement--FRESH peaches are my favorite fruit! It may be that I'm being seduced by this splendid slice of pie next to me as I type, but the only fruit that could possibly compete is the strawberry (see pictures from my January post for the strawberry pie!) At the local farmer's market, these peaches were begging to be made into a pie...who was I to refuse?!

This recipe starts off with a quick crust that I make in my Kitchen Aid. Mix together butter, sour cream and flour until it forms a ball, then pat it down in a pie pan until it's about 1/4" thick. Bake it for 15 minutes at 375 F; until it's set but not browned.

While the crust is baking, slice and peel 3 large peaches. You will want approximately 3-4 cups of peaches. Lay aside, and go back to the mixer. Don't bother washing it out from the crust: it all goes in the same pie! Blend together egg yolks, sugar, sour cream, and flour.

When the crust comes out of the oven, it's a bit bubbly so simply poke it a few times with a knife and it will lay down again in eager anticipation of the PEACHES!! :)

If you want it to be fancy, use less peaches and arrange them in a pattern. If you want a more peachy experience (like me!), pile on the peaches!!!

Pour the custard filling over the top, and place back in the oven for 45-50 minutes at 350 F. *note* Wear hot mitts--don't forget that your pie pan is still hot when you go to put it back in the oven!

Serve warm with heavy cream drizzled over the top!

Don't forget the shopping list!

Peach Tart

Crust:
1 1/4 cups flour
1/2 butter
2 tablespoons sour cream

Custard:
3 egg yolks
3/4 cup sour cream
3/4 cup sugar
1/4 cup flour

3-4 large peaches

From one hearty appletite to another...happy cooking!

Wednesday, August 31, 2011

The Go-To Cookie: Chocolate Chip Shortbread


Everybody needs a "go-to" cookie. This is not to be confused with a comfort cookie--although this can definitely double as that--but the cookie that you go to when you need to make something NOW: For those moments when your spouse or child casually says, "Oh, I was supposed to tell that I volunteered to bring cookies today." Forget the panic, followed by a few choice words, I mean "thoughts," and have your T.V. Mom moment by nonchalantly replying, "No prob."

Having said this, I challenge you to go set your oven to 350 degrees, and beat the preheat timer by whipping up these simple and mouthwatering pastry cookies to slide in the oven by the time it dings that it's hot! Ready, set...go!!!


In the mixer, combine chilled butter and sugar until blended, but not until it's creamy. You don't want your butter to get too warm or breakdown too much from over-blending. Plus, remember, you're in a hurry. Who has time to waste mixing?

Get ready to add your secret ingredient: drum roll...wait for it...


Stir just enough to incorporate the vanilla before adding in the flour. Slowly turn the mixer up until the flour and butter mixture have formed a firm ball. Add the chocolate.

Pluck up the cookie dough and roll into balls, about the size of a small golf ball, taking a snitch if you need to (no eggs!), and place one inch apart on a parchment lined cookie pan. Lightly flatten with your fingers if you want, and bake for 16 minutes, or until very light golden brown. The beauty of this cookie is that the chunkier and more uneven they look, the more appetizing!

Pat yourself on the back for a job well done!

Don't forget the shopping list!

Chocolate Chip Shortbread Cookies
1 cup butter
1/4 cup sugar
1 teaspoon vanilla
2 cups UNsifted flour
1 cup milk chocolate pieces
parchment paper

From one hearty appletite to another...happy cooking!

Tuesday, August 30, 2011

Dilly Beans!


Now I've heard of Dilly Bars, which bring back fond memories of visiting my grandparents (and their aptly named Dilly dog) and walking to the Dairy Queen, for the delicious circle of ice cream dipped in chocolate and served on a stick. So when I heard the name Dilly Beans, from a friend at Eager Appetite, I was immediately tickled and had to make them! What is a dilly bean, you ask? Well, it's nothing other than a fresh-from-the-garden green bean that's been decked out in delicious herbs and spices, and pickled in a salty vinegar brine.


My foray into the world of pickling began with a trip to the grocery store to gather the hardware and a couple items that I don't keep stocked in the fridge: Kerr pint canning jars, canning salt, white vinegar, and a jalepeno. The second stop was at the local farm for a bushel of dill and the guest of honor. It was fun to pick out a three foot tall bouquet of fresh dill! The creepy crawlies were free of charge, but I kindly left them behind ;)

While I've canned jams and jellies, I don't can enough to make it worth buying a water bath canner, and my 8 quart pot serves me well. I snapped my greens, chopped my garlic, and decapitated my dill flowers as my jars bubbled and boiled for 10 minutes to sterilize them. I also used this time to bring the brine to a boil.


After a quick assembly into the hot jars, I ladled the brine over the top.

Pretty little green things!


They were just so inviting that I had a hard time putting on the lids and sealing them up! Good bye, dilly greens, I'll taste you in 6 weeks!


Don't forget the shopping list! (Compliments of my friend, and the Ball Blue Book guide to preserving)


Dilly Beans
Yield: about 4 pints or 2 quarts
2 pounds green beans
1/4 cup canning salt
2 1/2 cups white vinegar
2 1/2 cups water
1 teaspoon cayenne pepper, divided
4 cloves garlic
4 heads dill
1 jalepeno, sliced (friend's addition, which I chose to follow)
Trim the ends off green beans. Combine salt, vinegar and water in a large sauce pot. Bring to a boil. Pack beans lengthwise into hot jars, leaving 1/4-inch headspace. Add 1/4 teaspoon cayenne pepper, 1 clove garlic, 1 head dill, and 1 or 2 slices of jalepeno to each pint jar. Ladle hot liquid over beans, leaving 1/4-inch headspace. Remove air bubbles. Adjust two-piece caps. Process pints 10 minutes in a boiling-water canner.
Pickled vegetables take up to 6 weeks to ferment, so place the pints in a location that will maintain a consistent temperature of about 70-75 degrees. To avoid damage from sun exposure, and to avoid you sneaking a dilly bean before it's ready, find a dark space in your pantry for their hiding place.
From one hearty appletite to another...happy cooking!

Chocolate Zucchini Cake


For the past couple years, I've been wanting to make chocolate zucchini cake. I heard it's a Wisconsin specialty: maybe they grow too many zucchinis and just plain ran out of ways to cook them.  In my opinion it's not chocolatey enough for the ingredient to warrant top billing in the title.  Then again, clearly that's not the opinion of everyone, as my husband devoured the cake!  

Once upon a time, in a kitchen long ago, three zucchinis gave up their life. So did two eggs, one cube of butter, 1/2 cup olive oil, 1 3/4 cups sugar, 1 teaspoon of vanilla, and 1/2 cup buttermilk.


They partied in the Kitchen Aid until they whipped into a soft, lemony yellow fluff.


To mix things up a bit, they blended in 2 1/2 cups flour, 4 tablespoons cocoa, 1/2 teaspoon baking soda and powder and cloves, and 1 teaspoon cinnamon. They should have included 1/2 teaspoon salt--no party is complete without it!

They whipped into a chocolate frenzy...

And the aforementioned zucchini took a beating...

They poured out their feelings into a greased and lightly floured 9x13" pan

The devil threw in calories...

Then they contemplated their sins in a 350 degree oven for 40-45 minutes

And were cooked into submission.

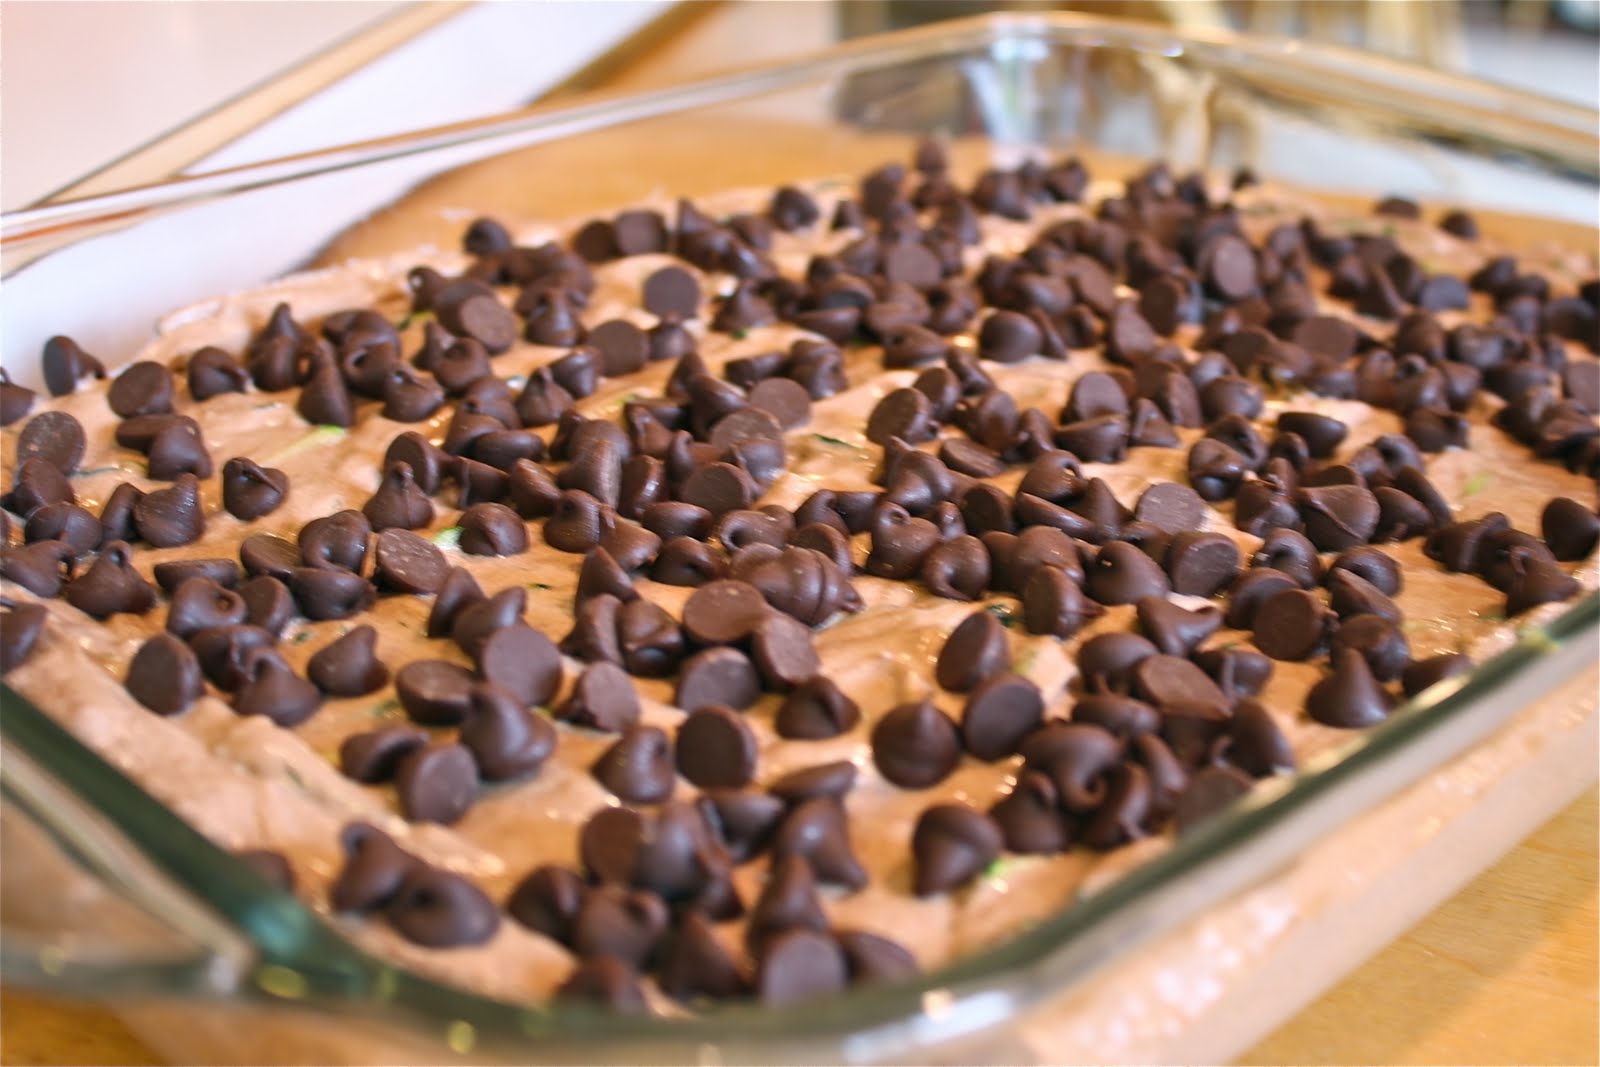
I must say that the texture is wonderful: light and fluffy, and very moist. Should my zucchinis start acting up again, I would try this again, but mix in the salt--of course--and 1 cup of melted chocolate chips to satisfy my cravings.

But as for the moral of the story, zucchinis are party animals that must be tamed at all costs...as a delicious side dish or as a scrumptious dessert!


From one hearty appletite to another...happy cooking!

Thursday, August 25, 2011

Grilled Salmon and Rhubarb Zucchini Bread


I love salmon. I order it in restaurants, I make it at home, and I wish I fished for it! Well, maybe not the last part. I would say that it's my favorite fish, and it's so good for you, but due to the price I make it sparingly. Since King Salmon has a short season, Alaskan Coho is the most readily available and can be purchased during the summer months at the grocery store for around $8.00/pound. Unlike the former, the latter is somewhat drier but can still be succulent and moist when prepared with care.


Start off with preheating a hot grill ~450 degrees. I like to use a small metal pan and fill it with 3/4 cup of mesquite smoke pellets. In about 10 minutes, a rich whiff of smoldering mesquite will let you know your grill is ready! To avoid burning the skin or delicate edges of your fillet, use indirect heating by leaving one burner off. So, if you have three burners, turn on the outer two, leaving the middle one off for a place for your salmon.

Prepare your salmon fillet by placing it on tin foil (for easy clean-up) on top of an old cookie sheet. Pat your salmon dry, then lightly sprinkle it with olive oil to lock in the juices. Top with seasonings of your choice, as well as sliced onions. Grill for about 15-20 minutes, or until the meatiest part is opaque when tested with a fork. The trick to maintaining the moisture is to cook it hot and quick, rather than a slow bake.


Asparagus makes an easy and fancy side dish for salmon. The contrasting color is eye-catching, and the crispness compliments the buttery texture of the salmon.
The best asparagus are the thin pencil-like ones. They're tender, and don't have the fibrous core that the larger stalks have. Sometimes, the less to chew, the better!

Trim off the bottom 3" and lay flat on a cookie tray. Drizzle and swizzle with just enough olive oil to lightly coat them, then sprinkle with salt and pepper. Cook at 450 degrees for 6 minutes, giving the pan a quick shake half way through. You don't want to overcook your asparagus. Nothing is worse than a limp little stalk.


Voila! Here's your meal in 30 minutes! Add a side of rice to the plate, and you have an easy, healthy, and extremely appetizing meal that looks like you spent hours preparing :)

As tasty as dinner is, we all know the true reason we eat it--to get to dessert! In the summer, zucchini are as prevalent as dandelions and seem to grow just about anywhere. They saute up nicely to pair with a meat dish, they hold their own in soups and salads, and they're sweet enough to be among the few choice vegetables that make their way into desserts!


For a twist on a classic, try replacing one cup of zucchini with one cup of diced rhubarb in this delicious zucchini bread recipe!

Even if you're using a Kitchen Aid, or mixer, always blend your dry ingredients together first to avoid any clumps that may happen by directly adding baking soda or baking powder to your wet ingredients. It's quite a shock to bite into a savory dessert, only to be greeted with the bitterness of an unblended ball of soda or powder!

Grease and flour the bottom of two bread pans, and bake at 350 degrees for 60-70 minutes.


Although it's so hard to resist delving into the bread the minute it's out of the oven, it really does hang together better for cutting if you let it rest for 10 minutes first. I also like to butter the top of the bread (okay, cake!) to soften the crust.


Don't forget the shopping list!

Mesquite Smoked Salmon
1 pound salmon fillet
Olive oil
Sliced onions
Salt and pepper to taste
Seasonings, optional

Roasted Asparagus Tenderlings
1/2 pound asparagus
Olive Oil
Salt and pepper to taste

Sautéed Rice and Noodles
1/2 cup onions, diced
2 tablespoons olive oil
1 cup rice
1/4 cup fino noodles
2 teaspoons chicken bullion
2 cups water

Sauté onions, rice and noodles in olive oil until slightly browned. Add bullion and water. Cover and cook on low for 20 minutes.

Rhubarb Zucchini Bread
1 cup butter, softened
2 cups sugar
3 eggs
1 tablespoon vanilla
2 cups grated zucchini
1 cup diced rhubarb
3 cups flour
1 tablespoon cinnamon
1 teaspoon baking soda
1/4 teaspoon baking powder
1 teaspoon salt

From one hearty appletite to another...happy cooking!